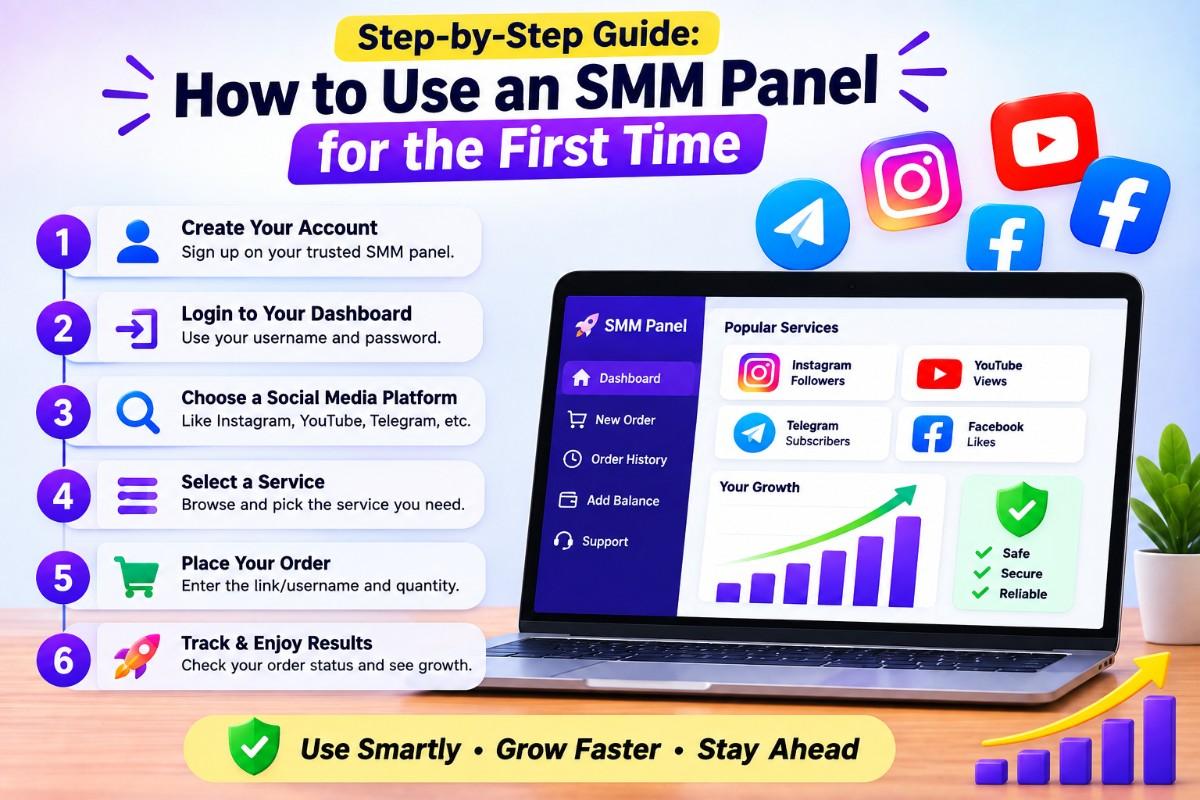
Logging into a digital marketing dashboard for the very first time can feel overwhelming. You are immediately greeted by hundreds of drop-down menus, API connections, and unfamiliar acronyms. Even when using the best smm panel india has to offer, the layout might seem complicated if you have never purchased wholesale engagement before.
Do not worry. Beneath the technical interface, the process is actually incredibly simple and functions just like any other e-commerce store. This step-by-step guide will walk you through exactly how to navigate the platform, from making your first deposit to launching a safe, algorithmic growth campaign.
Step 1: Create Your Account
Before you can view the wholesale pricing sheets or access the services, you need an active account. Registration is always free on legitimate platforms. Simply click the "Sign Up" button, provide an email address, and create a secure password. You do not need to connect your actual Instagram or Facebook accounts to the dashboard.
Step 2: How to Fund Wallet Safely
SMM panels operate on a prepaid wallet system. This means you deposit money into your account first, and then use that balance to buy various services. To get started, navigate to the "Add Funds" or "Deposit" page.
To fund wallet securely, select your preferred payment gateway. For Indian users, the most friction-free method is using local UPI apps like Paytm, PhonePe, or Google Pay. You can start with a micro-deposit (such as ₹50 or ₹100) to test the platform. Once the transaction is complete, your dashboard balance will instantly update.
Step 3: Select Your Category and Service
Go to the "New Order" page. You will see two main drop-down menus:
- Category: This is the broad social media platform (e.g., "Instagram Targeted Indian Followers" or "YouTube High-Retention Views").
- Service: This is the specific package within that category. Pay close attention to the service description, which details the delivery speed, quality (e.g., bot vs. real-looking), and whether it includes a refill guarantee.
Step 4: How to Place Order
Once you have selected your ideal service, you need to tell the system where to send the engagement. In the "Link" field, paste the direct, public URL of your social media profile or specific post. Never enter your username password.
Next, type the number of followers, likes, or views you want into the "Quantity" box. The dashboard will automatically calculate the final cost based on the wholesale rate. Verify the details, and click the button to place order. The system will immediately deduct the cost from your wallet balance and move your order to the processing queue.
Step 5: Utilize Drip-Feed Pacing
If you are buying a large quantity of followers or views, you should not deliver them all at once. An instant spike of 10,000 followers on a brand-new account looks unnatural to platform algorithms and can trigger a shadowban.
To solve this, look for the checkbox labeled drip-feed pacing on the order page. This advanced feature allows you to break your total order into smaller, natural-looking batches. For example, instead of getting 1,000 likes instantly, you can tell the system to send 100 likes every 60 minutes. This mimics organic virality perfectly and keeps your digital assets 100% safe.